

Last Updated: November 2, 2026
Quick Summary
Guided shelling is a boat tour where a local guide takes a small group to sandbars and quiet beaches and points out where to find shells, so beginners don’t need any prior knowledge. You simply step off the boat, wade or walk the sand with your guide, and learn shell names and wildlife along the way.
- Guides explain what to look for and where, so no prior shell knowledge is needed.
- The boat anchors near a sandbar or quiet beach, and you spend time wading and searching.
- Wear water shoes with a closed toe and grippy sole, and avoid flip-flops.
- Take only empty shells, and put back any shell that feels heavy or has a closed opening.
- Ask when booking so the tour can be matched to low tide times for your group.
Table of Contents
- What a Guided Shelling Tour Looks Like From the Boat
- Guided vs. Self-Guided Shelling: Which Suits a First Trip
- What to Bring Shelling (and What You Can Leave Behind)
- Best Time to Go Shelling Around Marco Island
- Responsible Shell Collecting Rules to Follow on Your Trip
- Booking Your First Guided Shelling Trip
- Frequently Asked Questions
What a Guided Shelling Tour Looks Like From the Boat
Picture this: you step off a boat onto a pale sandbar at low tide, and the captain points toward a patch of shells glinting in the shallow water. That’s a typical start to a guided shelling tour with Florida Island Tours.
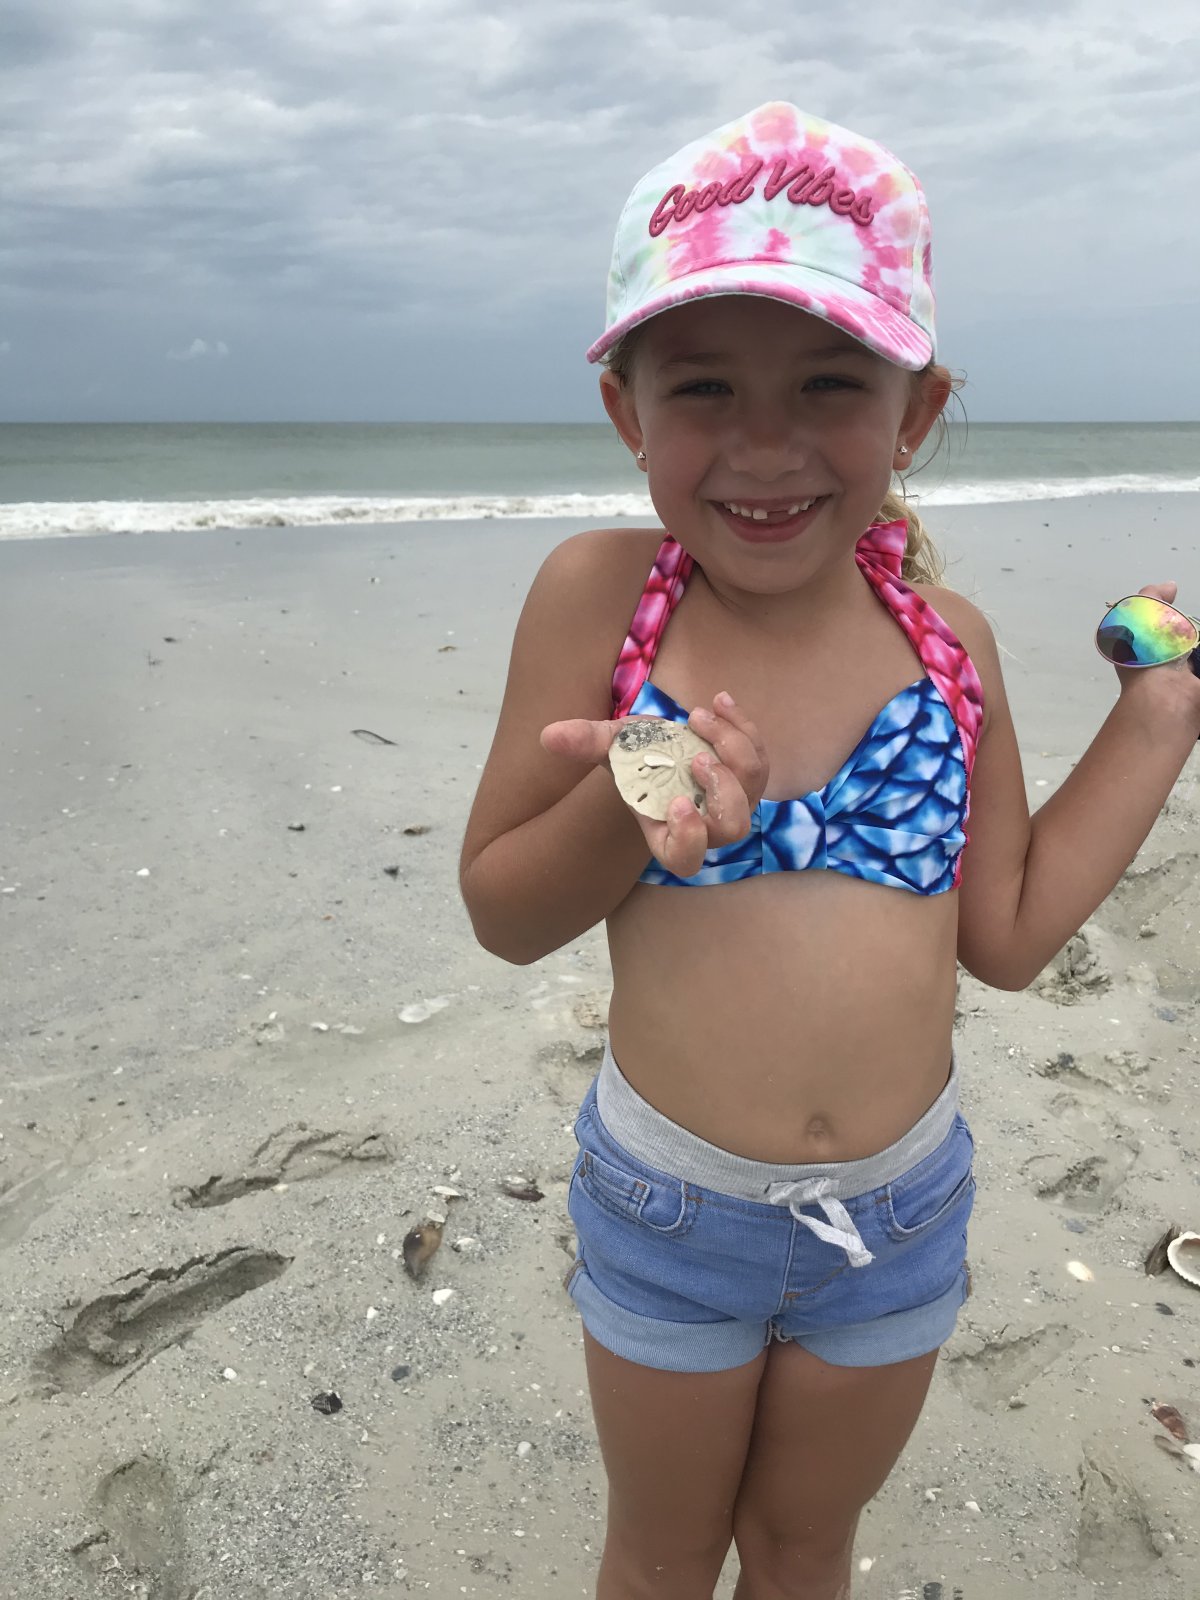
Guided shelling for beginners is simpler than it sounds. Florida Island Tours takes small groups out through the Ten Thousand Islands, and a guide walks you through each stop. You don’t need to know a single shell name before you start.
- The boat anchors near a sandbar or quiet beach
- Your guide explains what to look for and where
- You spend time wading, walking, and bending over to search
- The guide points out interesting finds and wildlife along the way
Along the route, you may also spot dolphins, birds, and mangroves. Nothing is guaranteed, of course, since nature sets its own schedule.
Guided vs. Self-Guided Shelling: Which Suits a First Trip
For most first-timers, a guided trip is the easier way to start. A self-guided outing means you find your own beach, check the tides, and figure out where the good shells collect. That can be fun, but it’s a lot to handle on your first try.
A guided trip takes that work off your plate. If you’re deciding between joining a crowd and having the boat to yourself, compare private and group boat tours to see which fits your plans. You also get to ask questions as you go.
Guided tours work well when you:
- Have never gone shelling before
- Want to learn shell names and what they look like
- Are visiting and don’t know the local waters
- Are traveling with kids who need guidance
Self-guided shelling may suit you when you:
- Already know the local beaches well
- Enjoy planning the whole outing yourself
- Have shelling experience and tide knowledge
What to Bring Shelling (and What You Can Leave Behind)
Packing for a shelling trip is mostly about staying comfortable on the water and in the sun. Our checklist of what to bring on a boat tour covers the essentials. Keep your bag light and bring only what you’ll use. The trick is knowing which items earn their spot and which ones just add weight.
Footwear is the big one. You’ll be walking on soft sand, wading through ankle-deep water, and stepping over oyster bars and broken shell beds. Old sneakers work, but they stay wet and heavy all day. Water shoes with a closed toe and a grippy sole are the better call, especially around Caxambas Pass where the bottom can be uneven. Avoid flip-flops, they slip off in mud and offer no protection from sharp shell edges.
Sun protection matters more than you think. There’s almost no shade on a sandbar at midday. A wide-brim hat, polarized sunglasses, and a long-sleeve sun shirt beat reapplying lotion every hour. If you use sunscreen, choose a reef-safe formula, the kind made with zinc oxide or titanium dioxide rather than oxybenzone, since it’s kinder to the marine life around you.
For collecting, keep it simple. A mesh bag lets sand and water drain out so your finds don’t sit in a soggy bucket. A small plastic container with a lid protects fragile specimens like angel wings or paper figs. Skip the fancy sifting screens and trowels; most guides carry what’s needed for identification, and heavy gear just slows you down on the beach.
A few small comforts go a long way. Bring a refillable water bottle (dehydration sneaks up on you in the sun), a quick-dry towel, and a change of dry clothes in a waterproof bag. A phone in a waterproof pouch is handy for photos and for checking the tide chart if you’re curious.
What to leave behind:
- Large coolers and heavy beach chairs, they crowd the boat and you won’t use them on a sandbar
- Expensive collecting equipment, a beginner doesn’t need it
- Glass containers, they break on the boat and on the beach
- Anything you’d be upset to get salty or sandy Minimalist gear ensures you remain mobile while scouting the shoreline, a philosophy that serves you well when starting a collection of geological treasures found further inland.
One more thing: leave live shells where you find them. Take a moment to learn how to tell the difference before you pick anything up, and that quick lesson is worth more than any piece of gear you could bring.
Best Time to Go Shelling Around Marco Island
Timing matters a lot for shelling. Low tide exposes the sandbars and beaches where shells collect, so a trip planned around the tide tends to be more productive. For more on finding seashells around Marco Island, see our separate guide.
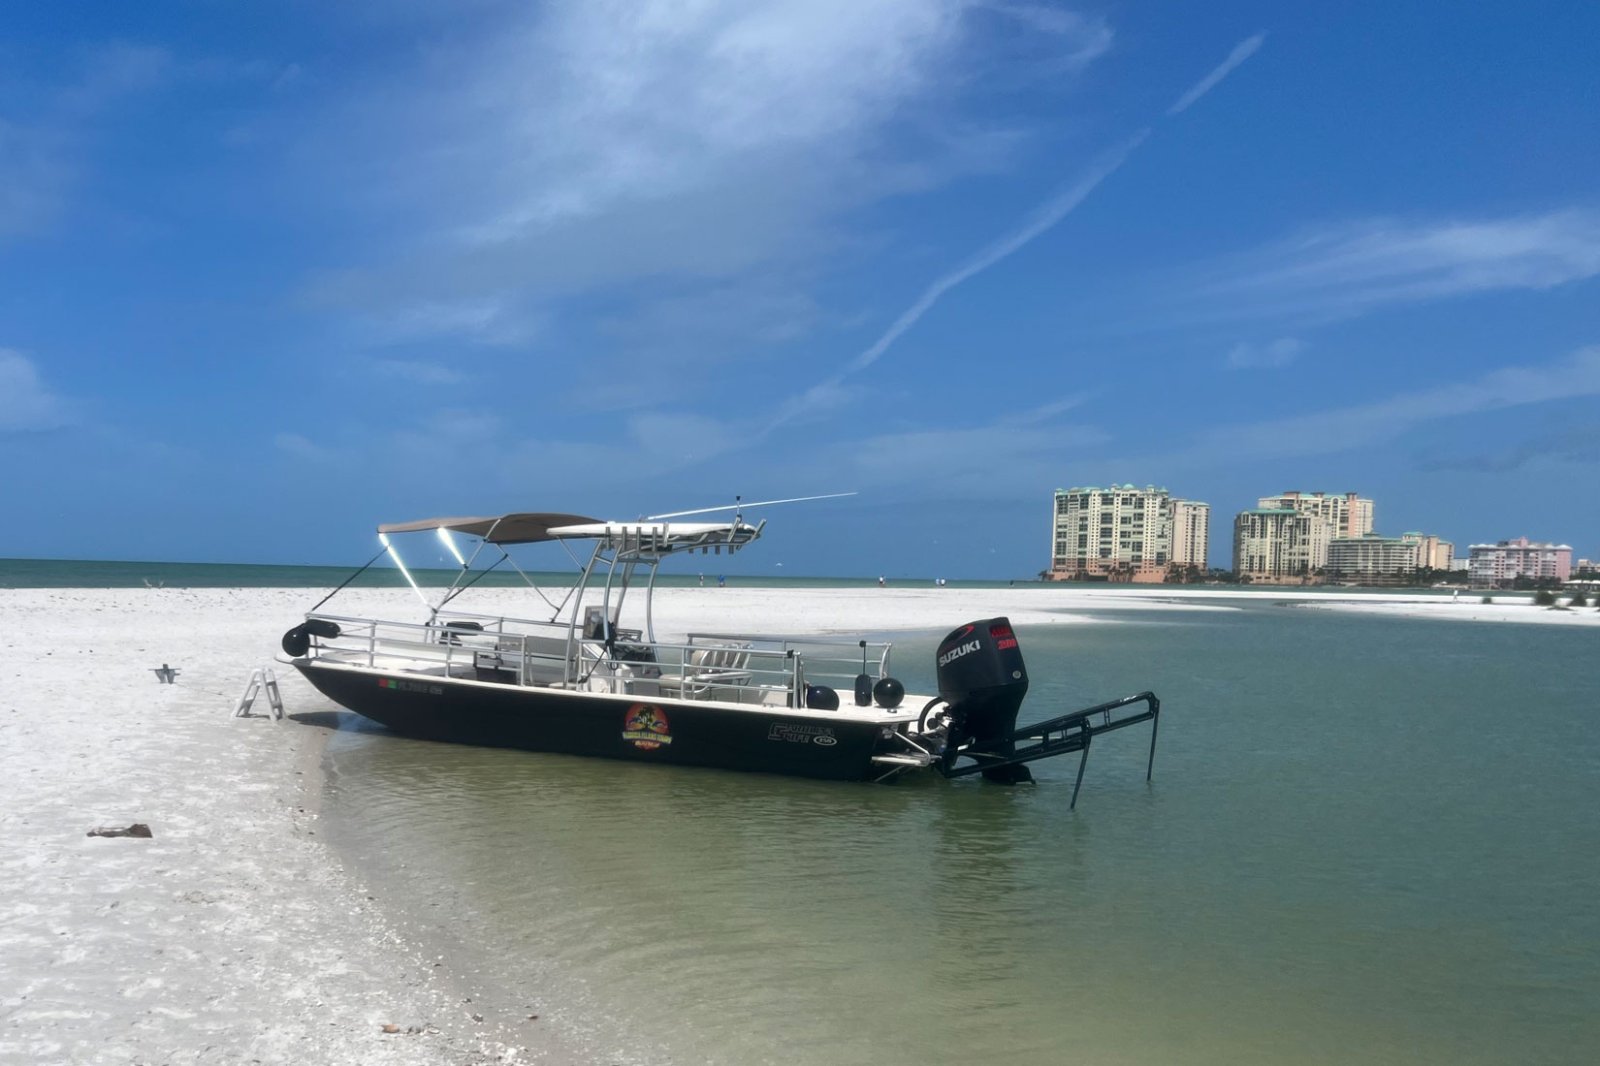
Weather also plays a part, since strong winds and rough seas can make a trip less comfortable.
Tide times change each day, so ask us when you book and we can help you pick a slot for your group.
Responsible Shell Collecting Rules to Follow on Your Trip
Shelling is a wonderful way to connect with the islands, but it works best when we leave the beaches healthy for the next visitor. A few simple habits go a long way, and a little knowledge makes them easier to follow.
How to tell a live shell from an empty one. This is the question every first-timer asks, and it’s easier than it sounds. A live mollusk usually means the shell feels heavy for its size, the opening is closed tight or has an operculum (the little trapdoor some snails use), or there’s an animal visible inside. A dead shell is light, often has a hole or worn edge, and sounds hollow if you tap it. When in doubt, put it back.
Leave live shells in the water. If an animal is inside, put the shell back exactly where you found it. A live lightning whelk or horse conch is a living creature, not a souvenir. Taking a live shell is a conservation problem, and in many cases it is also against the rules.
Take only empty shells. Dead shells are the ones that help beaches stay full. They break down over time and become the sand that future shellers walk on. A beach stripped of its empty shells erodes faster and supports less life.
Keep the limit small. Collect a few favorites, not a whole bucket. A handful of well-chosen shells is a better memory than a bag of broken fragments, and it leaves plenty for the next visitor.
Stay off the nesting areas. Shorebirds like least terns and black skimmers nest directly on the sand, and their eggs and chicks are nearly invisible. Sea turtles nest on the same beaches during the warmer months. Give posted areas a wide berth, and if a bird starts dive-bombing or dragging a wing, you’re too close, back away.
Don’t disturb wildlife. Give dolphins, birds, and manatees plenty of room. Never feed or touch marine mammals, and keep your distance if one approaches the boat. Wild animals set their own schedule, and respecting that is part of what makes an encounter special.
Know the local rules. Shelling regulations vary by beach and by species. Some areas limit what you can take, and some shells may be protected.
Following them keeps the islands beautiful for guests and wildlife alike, and honestly, it makes the trip more fun when you know you’re doing right by the place you came to explore.
Before you pick anything up, these quick rules help keep the beaches healthy for the next visitor.
| Situation | What to do | Why |
|---|---|---|
| Shell feels heavy, opening closed | Put it back where you found it | Likely a live animal inside |
| Shell is light, hollow, or has a hole | Safe to take | Empty shells break down into beach sand |
| Shorebirds or turtles nesting | Give posted areas a wide berth | Eggs and chicks are nearly invisible |
| Dolphin, bird, or manatee nearby | Keep your distance | Never feed or touch marine mammals |
| Collecting on your trip | Keep to a small handful | Leaves plenty for the next visitor |
Booking Your First Guided Shelling Trip
Ready to try it? Booking a guided shelling trip is a straightforward process. Pick a date, choose your group size, and let us know if you’re traveling with kids or have any mobility needs. You can review the Cape Romano shelling tour to see the route and book your first trip. You can also see what a shelling trip covers before you reserve.
Our private and small-group options keep the group size small, with a maximum of twelve people on private and specialty tours. Pricing depends on the tour type, group size, and date, so visit our website or contact us for current rates.
You can explore our Shelling Tour to see what the trip covers. If you’re weighing a private outing against a group trip, our Private Boat Tours page explains the difference. Once you’ve picked your date, reserve your seats and get ready to discover what the water hides.
Frequently Asked Questions
What should beginners bring on a guided shelling tour?
Bring water, sunscreen, a hat, polarized sunglasses, closed-toe water shoes, and a mesh bag or small bucket for finds. A towel and a light layer for the boat ride are helpful too. Leave glass jars and heavy bags at home, since they are awkward on a small boat and on sandbars.